Setup Wizard & First Time Setup
Setup Wizard
This tutorial guides you through completing the initial FusionAuth configuration necessary prior to integrating an application and making API calls.
Access FusionAuth App
You will need to access FusionAuth in your web browser. If you have installed FusionAuth on your own system, you will need to know the IP address or hostname of the system where it has been installed. For example, to access FusionAuth on localhost, you would use the following URL http://localhost:9011.
Once you have a web browser open to FusionAuth you will be presented with a setup wizard that will walk you through getting FusionAuth configured and ready to begin calling the API and managing users. If you instead are being prompted by the FusionAuth Maintenance Mode, please complete that setup first and then return to this step. See the Maintenance Mode section in the FusionAuth App Installation Guide.
Once the setup wizard is complete you will be logged into FusionAuth using the created Administrator account.
Complete the Setup Wizard
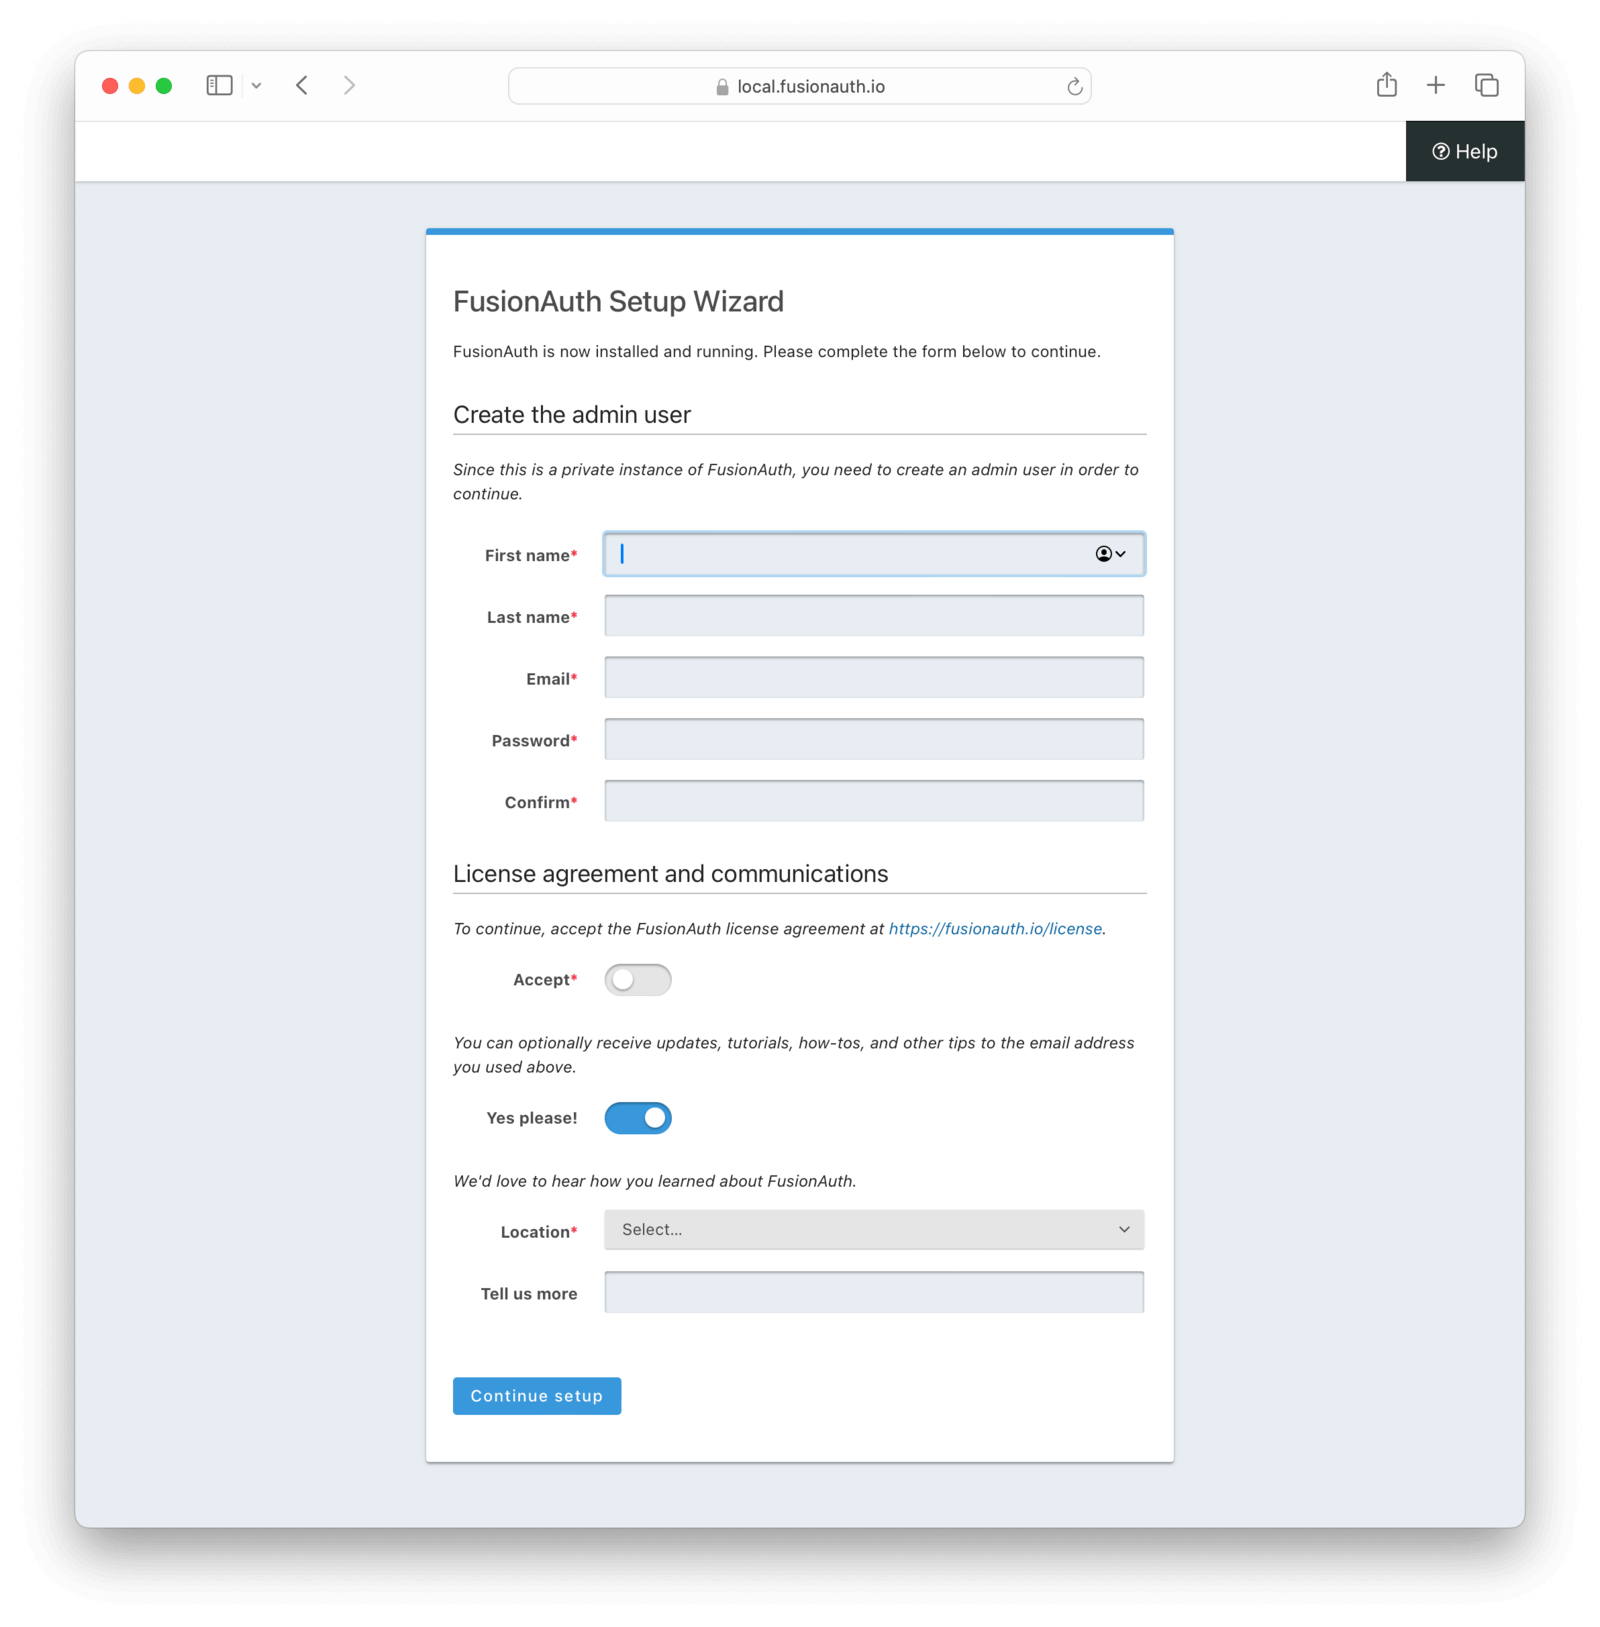
Admin user
This will be the first account to be created in FusionAuth and this user will be assigned the admin role the FusionAuth application. Additional
users can be assigned the admin role at a later time.
License agreement and communications
To complete the setup wizard you must toggle the Accept button after reading the FusionAuth license agreement. You won’t find any surprise strings attached here, just the normal lawyer speak for CYA.
Optionally stay informed by opting-in to receive FusionAuth technical announcements, tutorials and other technical focused emails. You may opt-out at any time in the future, or opt-in at a later date by visiting fusionauth.io and finding the “Subscribe for updates” form at the bottom of the page.
Your feedback on how you learned about us helps us better serve our customers.
Complete First Time Setup
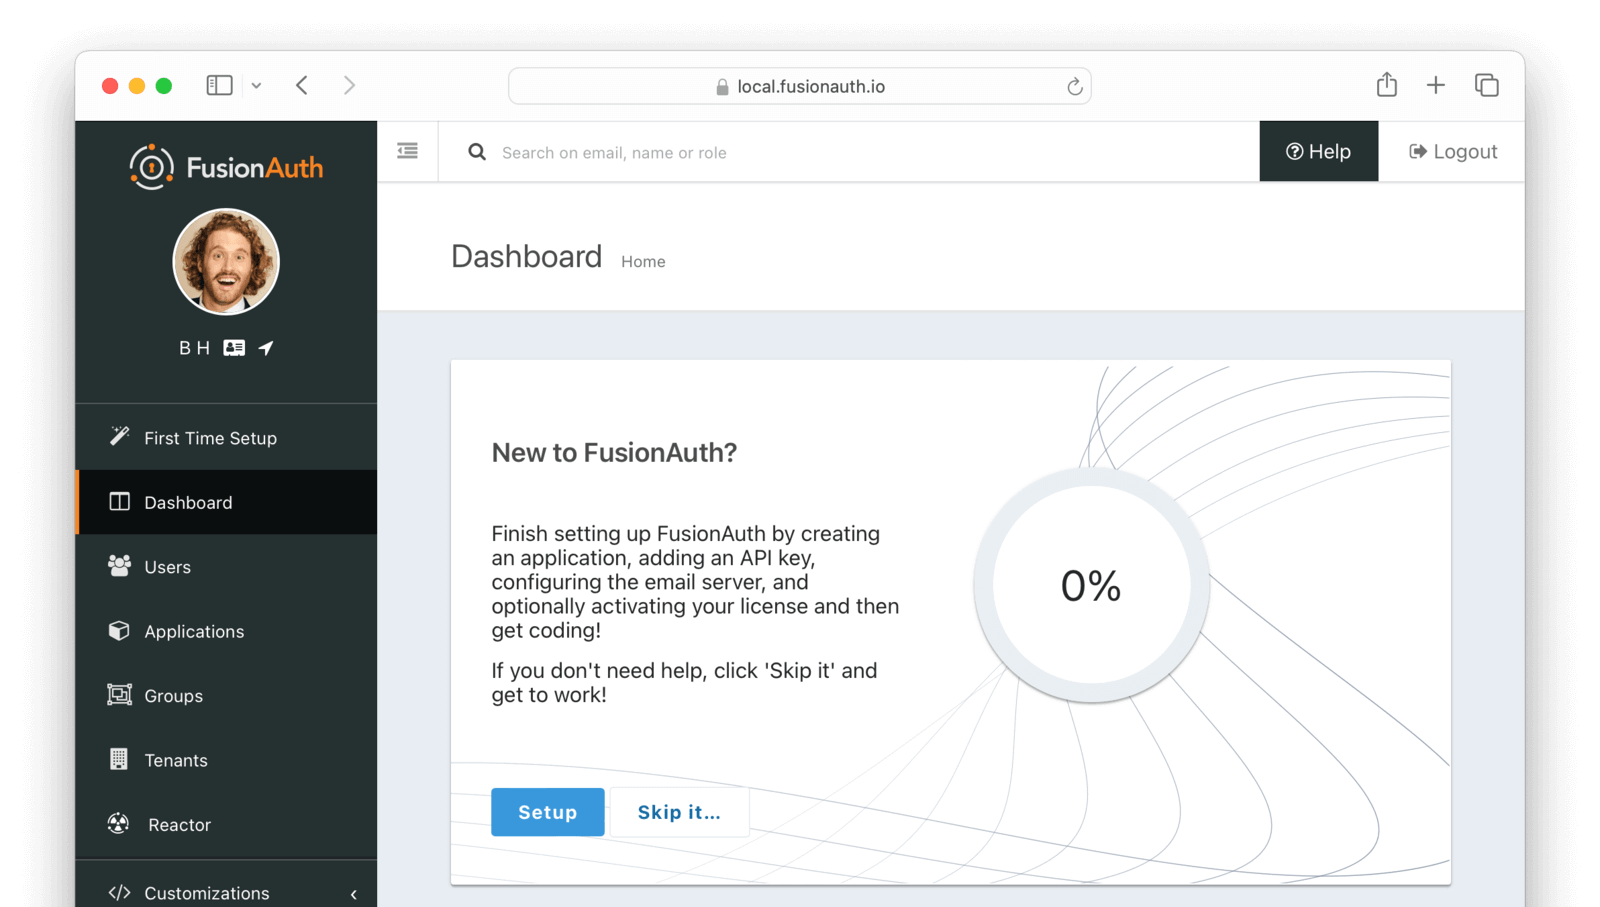
Once the Setup Wizard has logged you into FusionAuth you may begin using the application. On the dashboard you will see a panel for new users.
Clicking Setup will guide you through creating an Application, adding an API key, configuring the email server, and optionally activating your license.
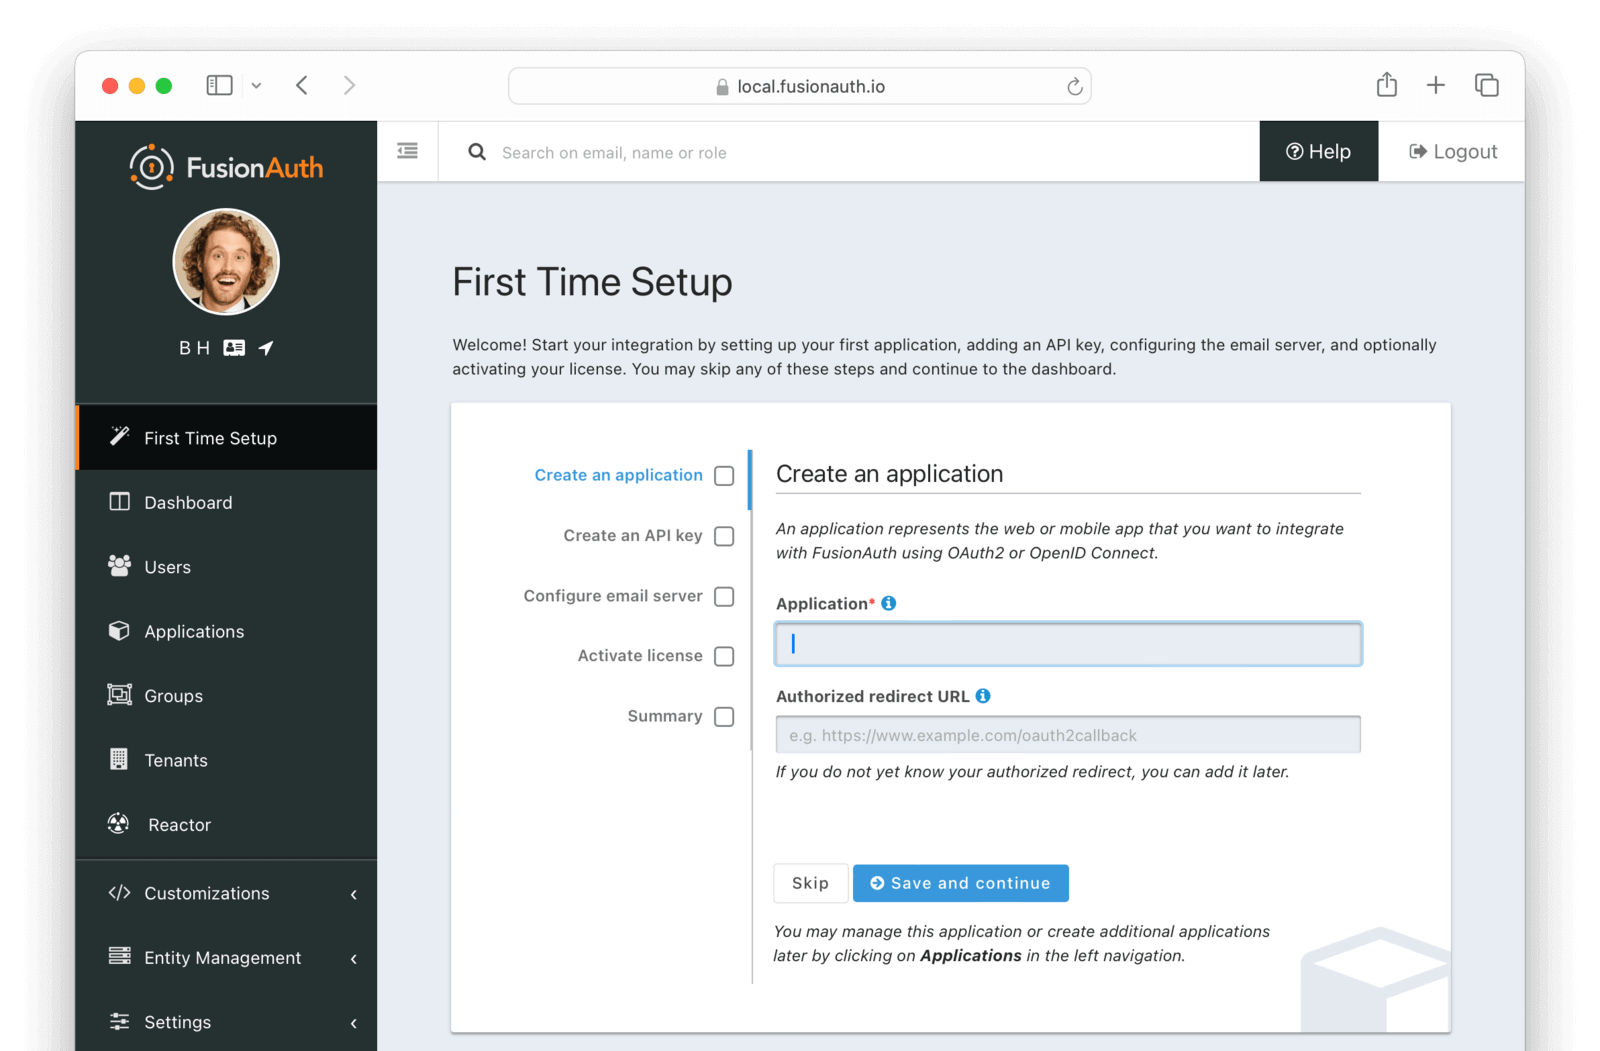
Create an application
FusionAuth can be configured with one to many Applications. A FusionAuth Application represents a secured resource, it should be thoughtfully named but the name may be modified at a later time.
The Authorized redirect URL should match where your users will be redirected after logging in with FusionAuth.
See the Application overview for additional details.
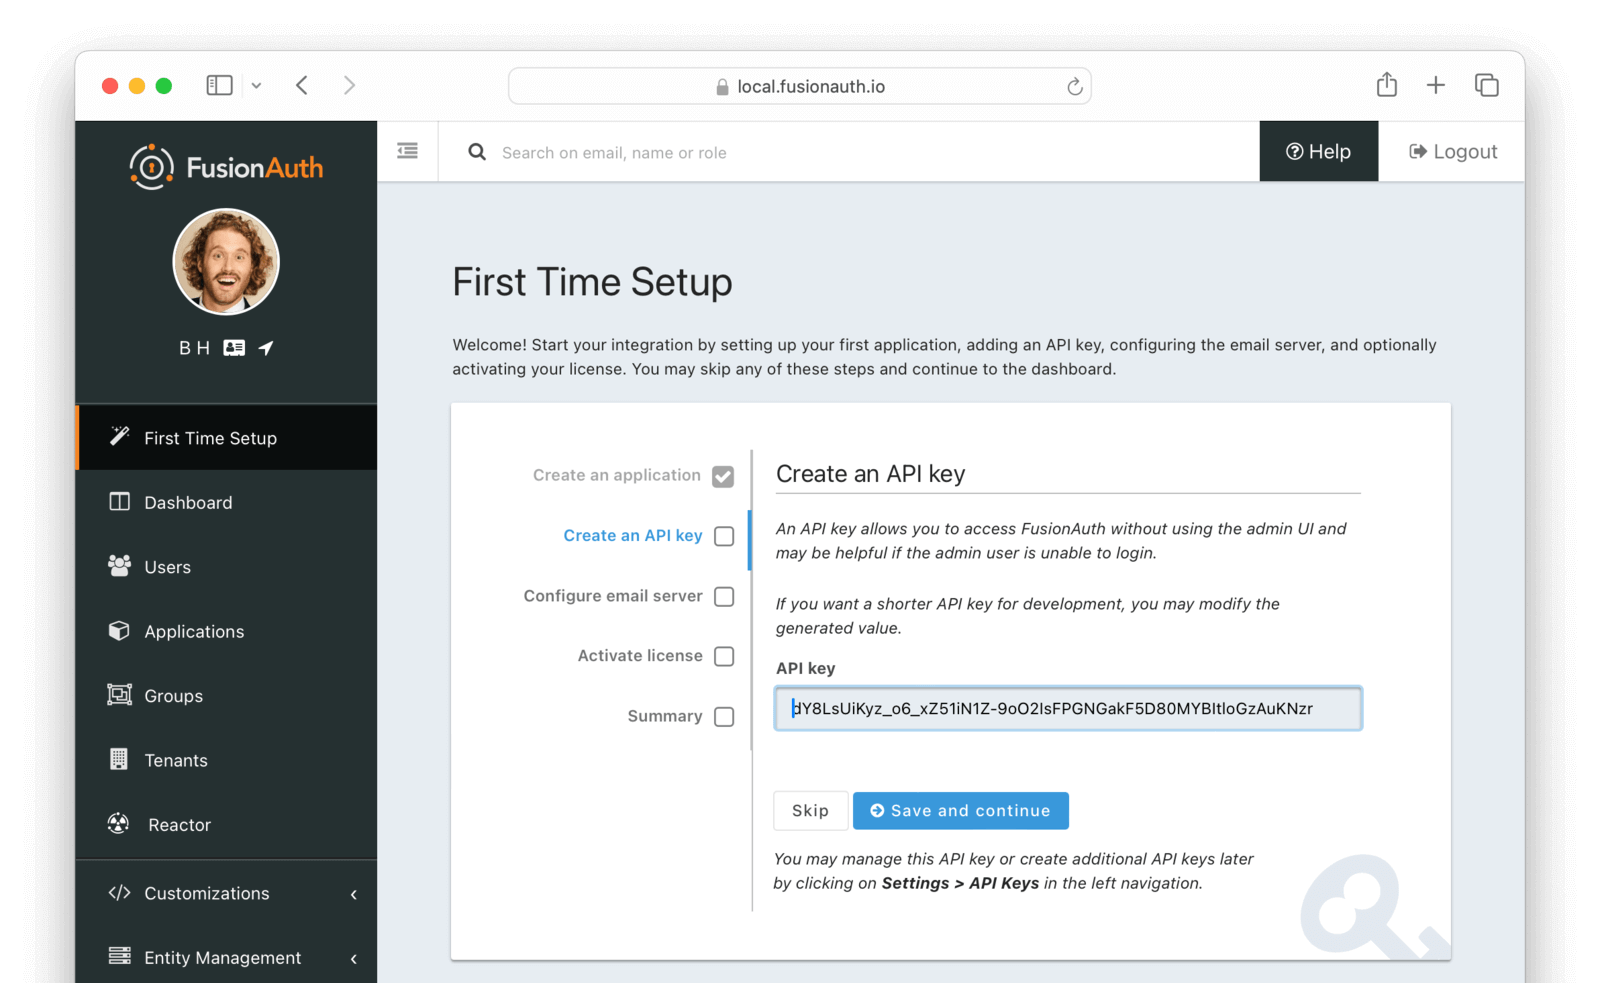
Create an API key
In order to call the API at least one API key will need to be added. Additional API keys can be added at a later time by any user with the admin or api_key_manager roles. See API Authentication for additional details.
It is recommended that you create an API key and store it somewhere safe such as a secrets manager. If you forget your password, misconfigure an Identity Provider, or otherwise render your FusionAuth administrative user interface inaccessible, you can use the API key to modify your configuration.
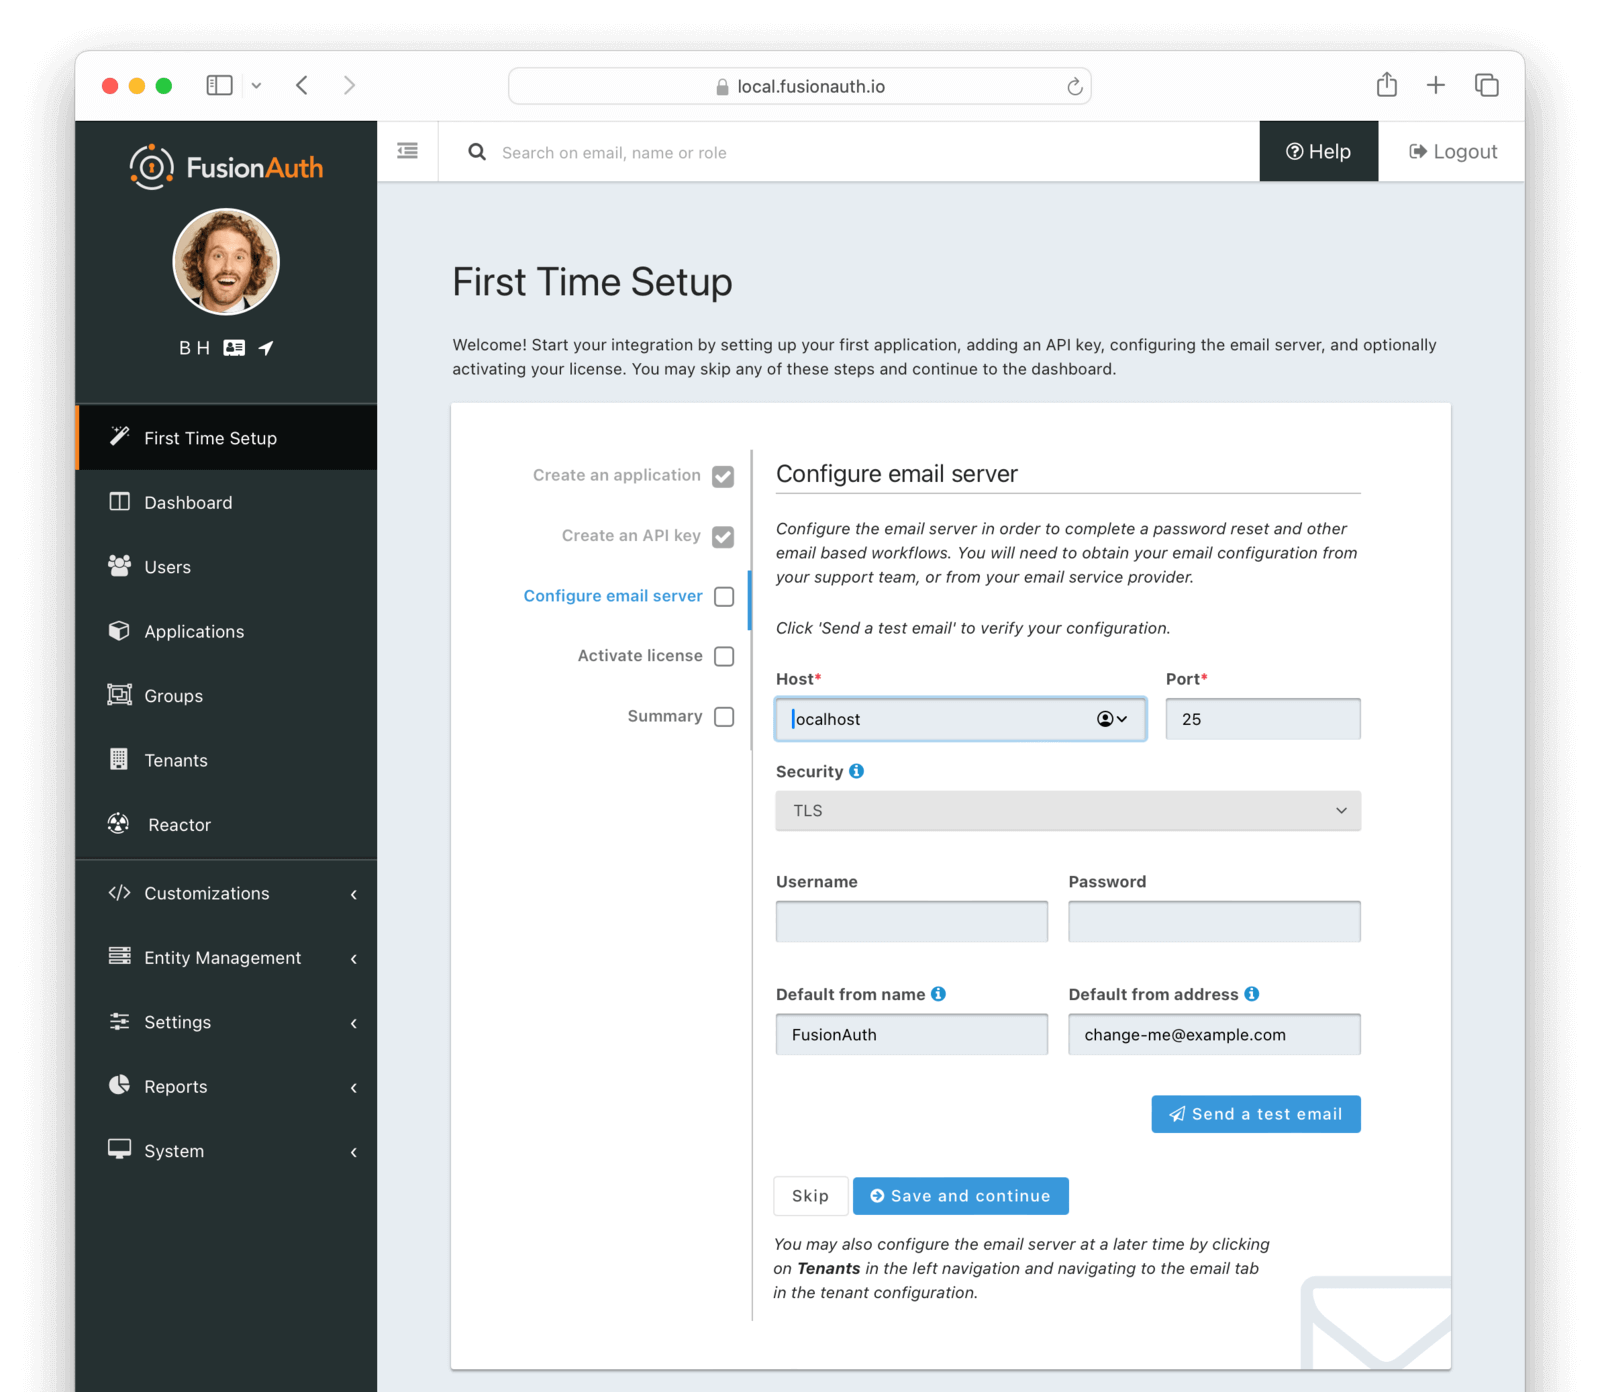
Configure email server
This step is optional but it is recommended. Until FusionAuth has been configured with a valid email server configuration FusionAuth will be unable to send email. This means features such as Forgot Password, Change Password, Verify Email and User Actions configured to send emails will not function.
See the Configure Email section for additional details.
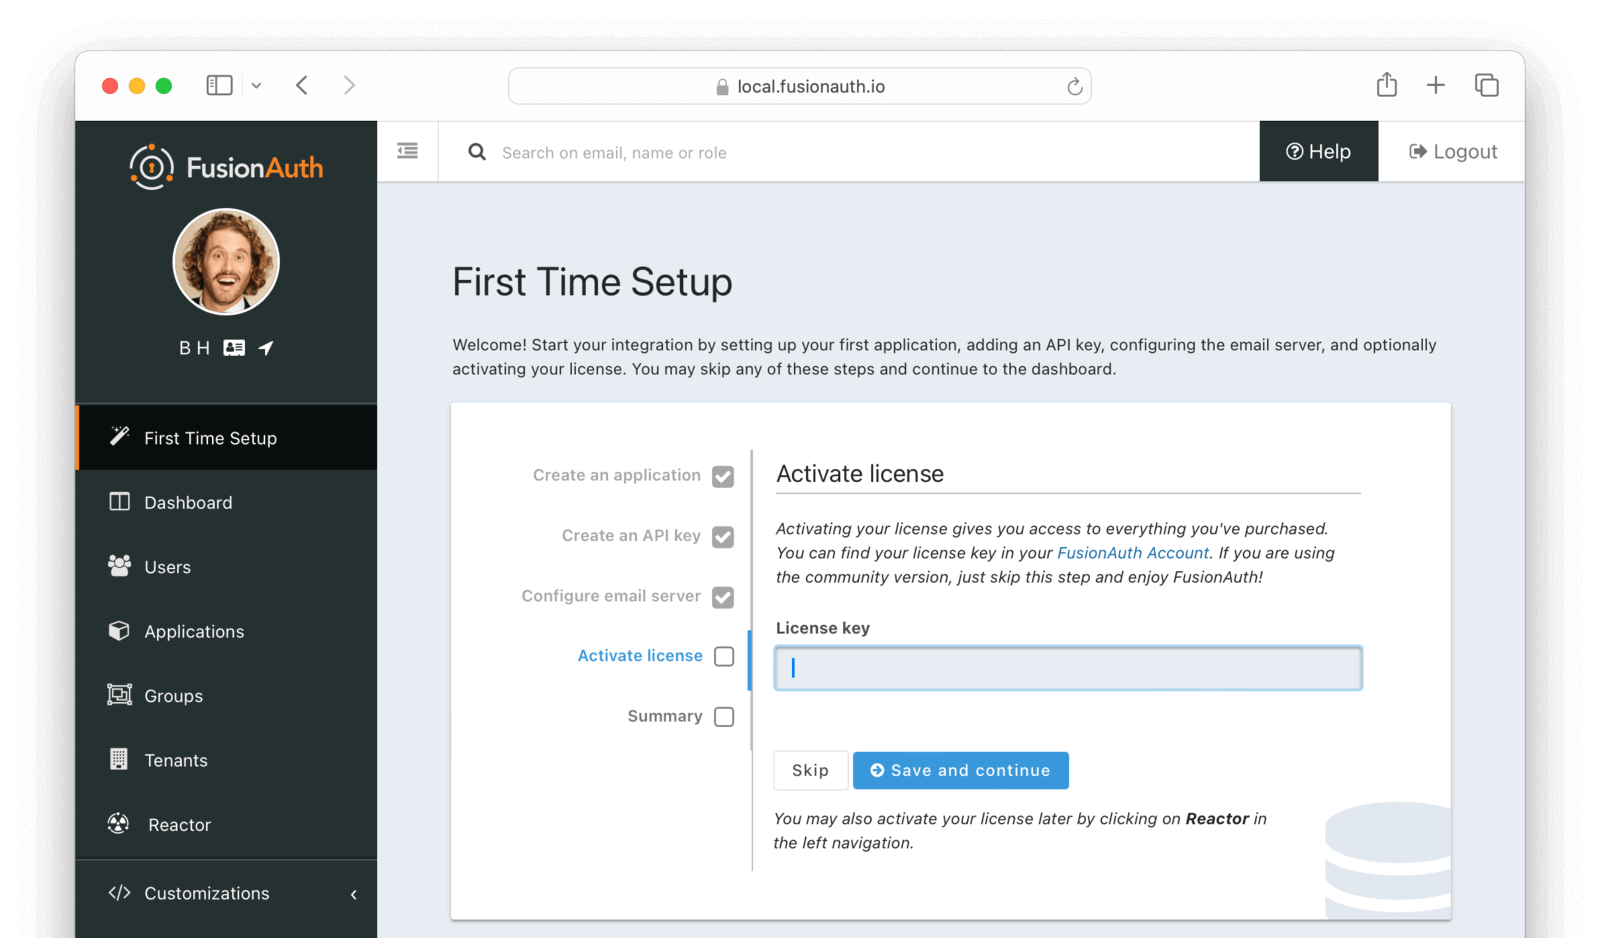
Activate license
Activating your license gives you access to everything you’ve purchased. You can find your license key in your FusionAuth Account. If you are using the community version, just skip this step and enjoy FusionAuth!
See the Licensing section for additional details and how to activate your license at a later time.
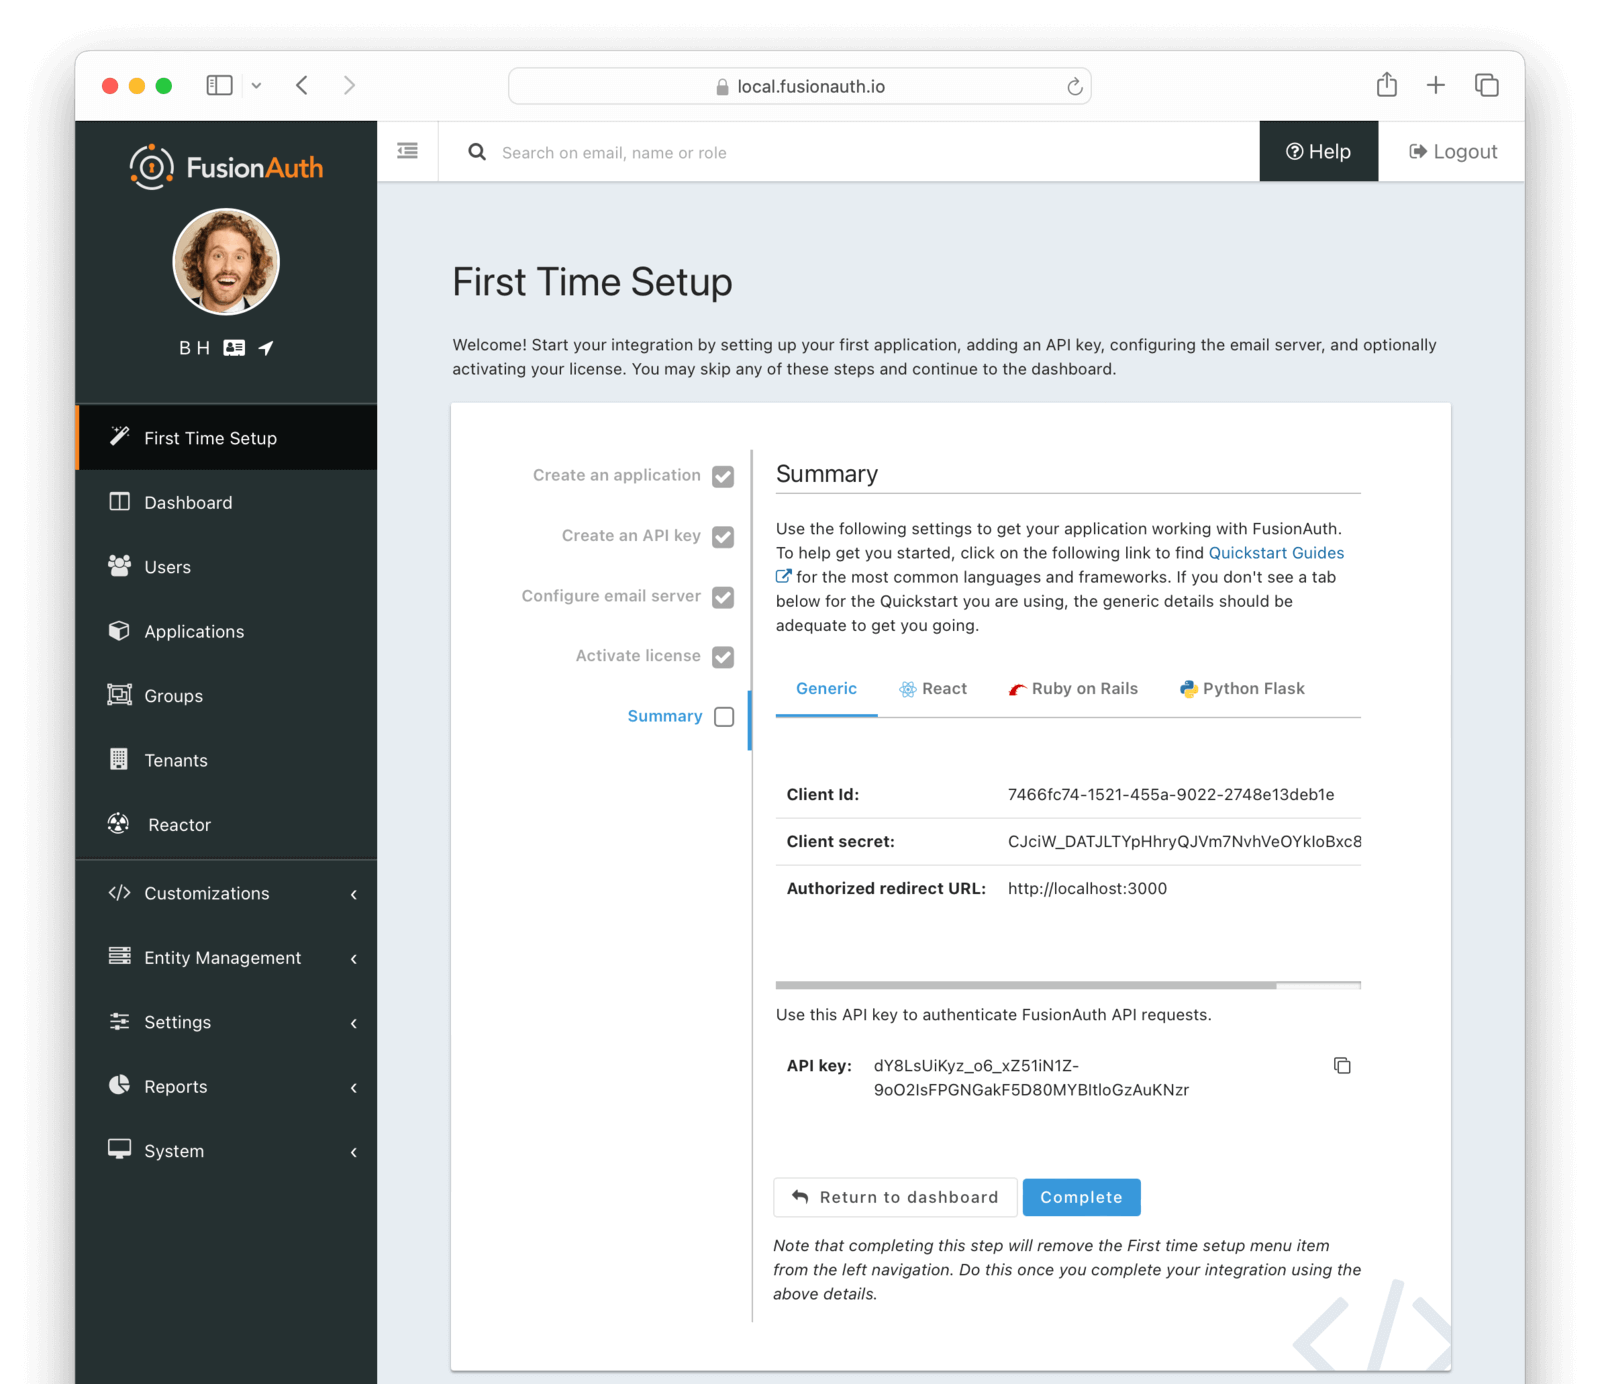
Summary
Use the summary settings to get your Application working with FusionAuth. You can find this information later from the Application OAuth settings.
